


.jpg)


Awesome tutorial I have ever thought of doing!! I mean i know most of you have figured how to do this? but i got a way crazier method to do this, and it's awesome! ^^
Okay so you got two results from this tutorial..and those are the two images i've shown on the left hand side. In this tutorial, my aim is to create the stamp + produce those results in the images in the left.
To start off, you need these materials :
1) Paint ( Water colors preferably) & brush ( brush isn't neccasary)
2) Eraser ( Of any thickness)
3) Knife ( small one is enough) or blade or a sharp siccor
4) Paper or a board (To stamp on)
5) A design for the stamp ( I used a heart, you can carve anything on the eraser)
6) A design or word to stamp ON. (meaning in mine i wrote love..so you can do anything, even a picture of a whale..e.t.c..)
7) A pen or pencil to draw the designs.
8) Toothpick (To hold onto when stamping)
\
How to start :
1) Firstly i'm gonna show you how to cut the eraser. To do this get your eraser and draw what you want your stamp to be. Remember depending on your eraser size..you can have a big or small design. I used a heart and it was wayy simple. Plus also remember you're gonna cut from the inside. Meaning my heart's inside was cut. So when you're drawing, draw a simple one, NOT complicated ones.
The heart was easy to draw.. so i just carved it slightly from the knife to get my basic idea of what i'm going to carve in...

2) Next Carve the design. I used a knife, as said in the materials section you can use a siccor even but i reccomend the knife because it's more sharper and easier.
Pull it lightly and start slowly don't start fast and get it messed up...because remember we're arn't gonna cut right down to make a hole. We're gonna cut it just around one inch thick or half a inch thick depending on your eraser thickness.
PS- Hope my images for the carving clear :( it swas taken in the dark! :(


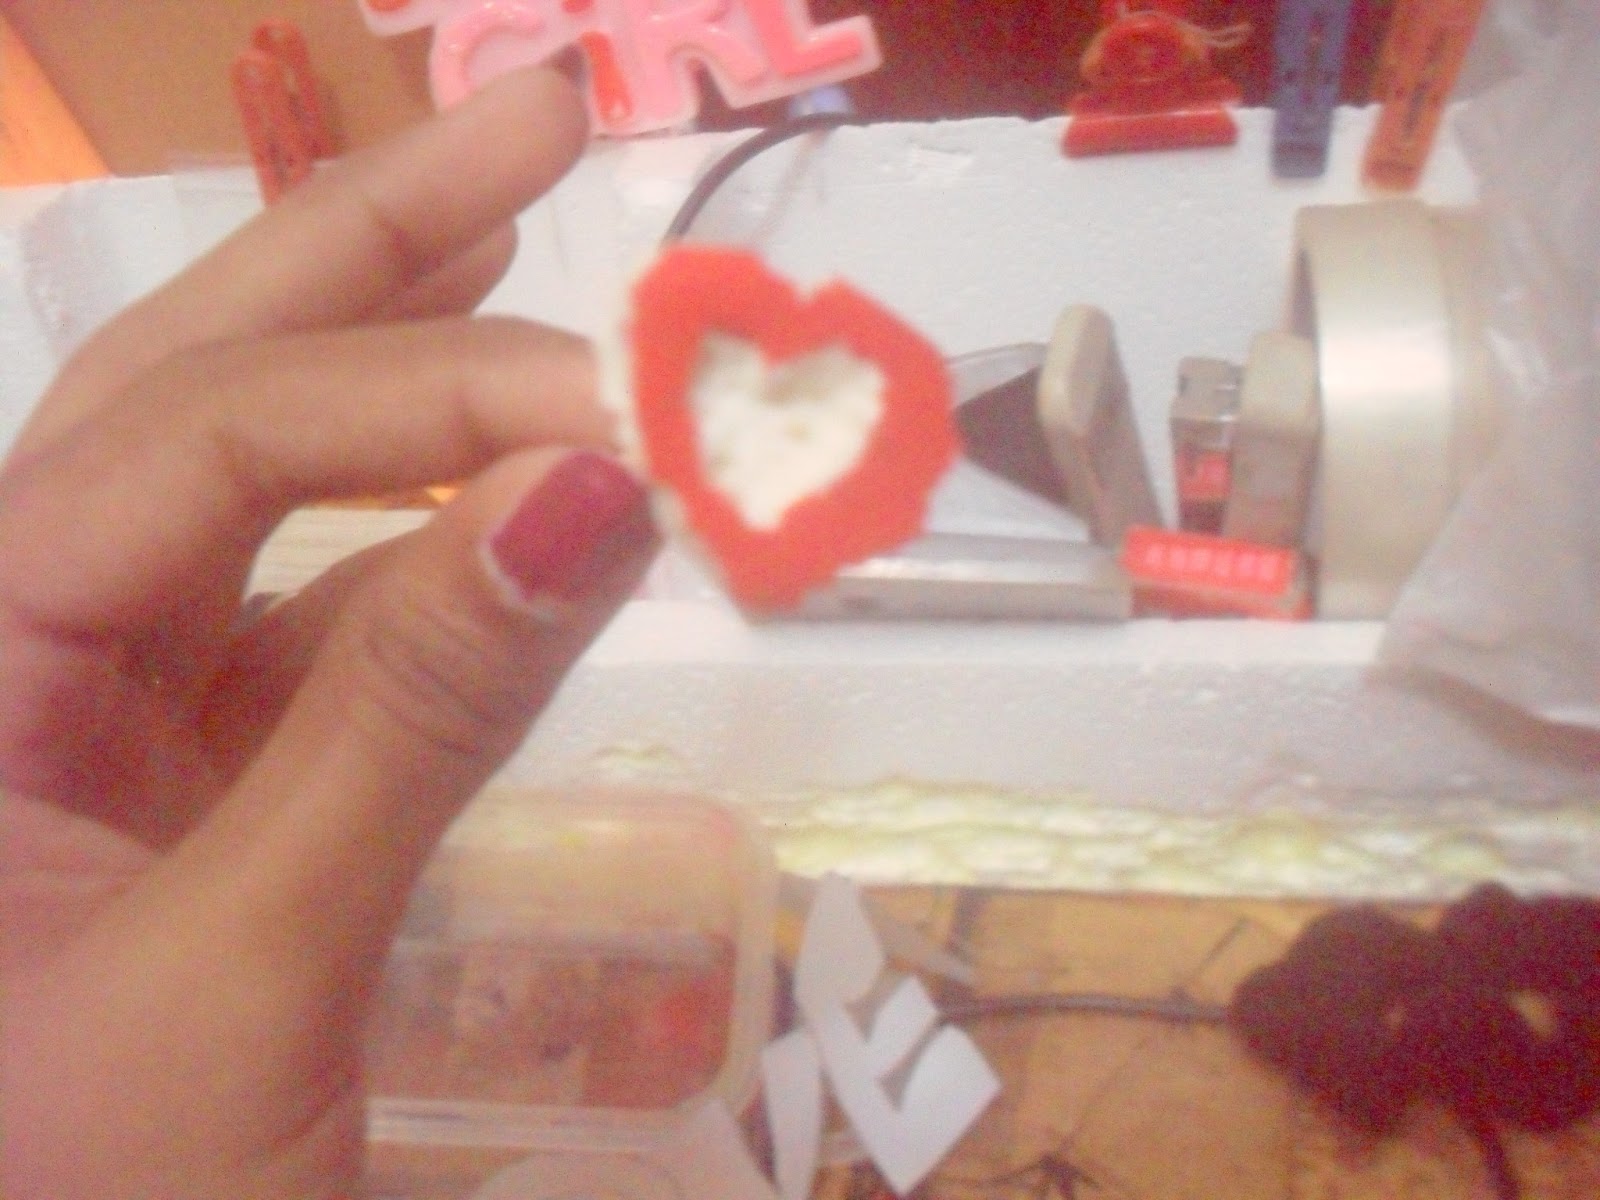
This is how it should come as...

3) Now for the rest to make sure the stamp is seperated from the rest of the eraser, and made to a clear and proper stamp.
Cut the heart's shape from around aswel. Meaning, my inside shape was a heart..so to make sure when i stamp..the heart effect should come. So you have to cut the outside part to the same shape aswel. Do the same for whatever your design is too! :)
Here goes what i did,


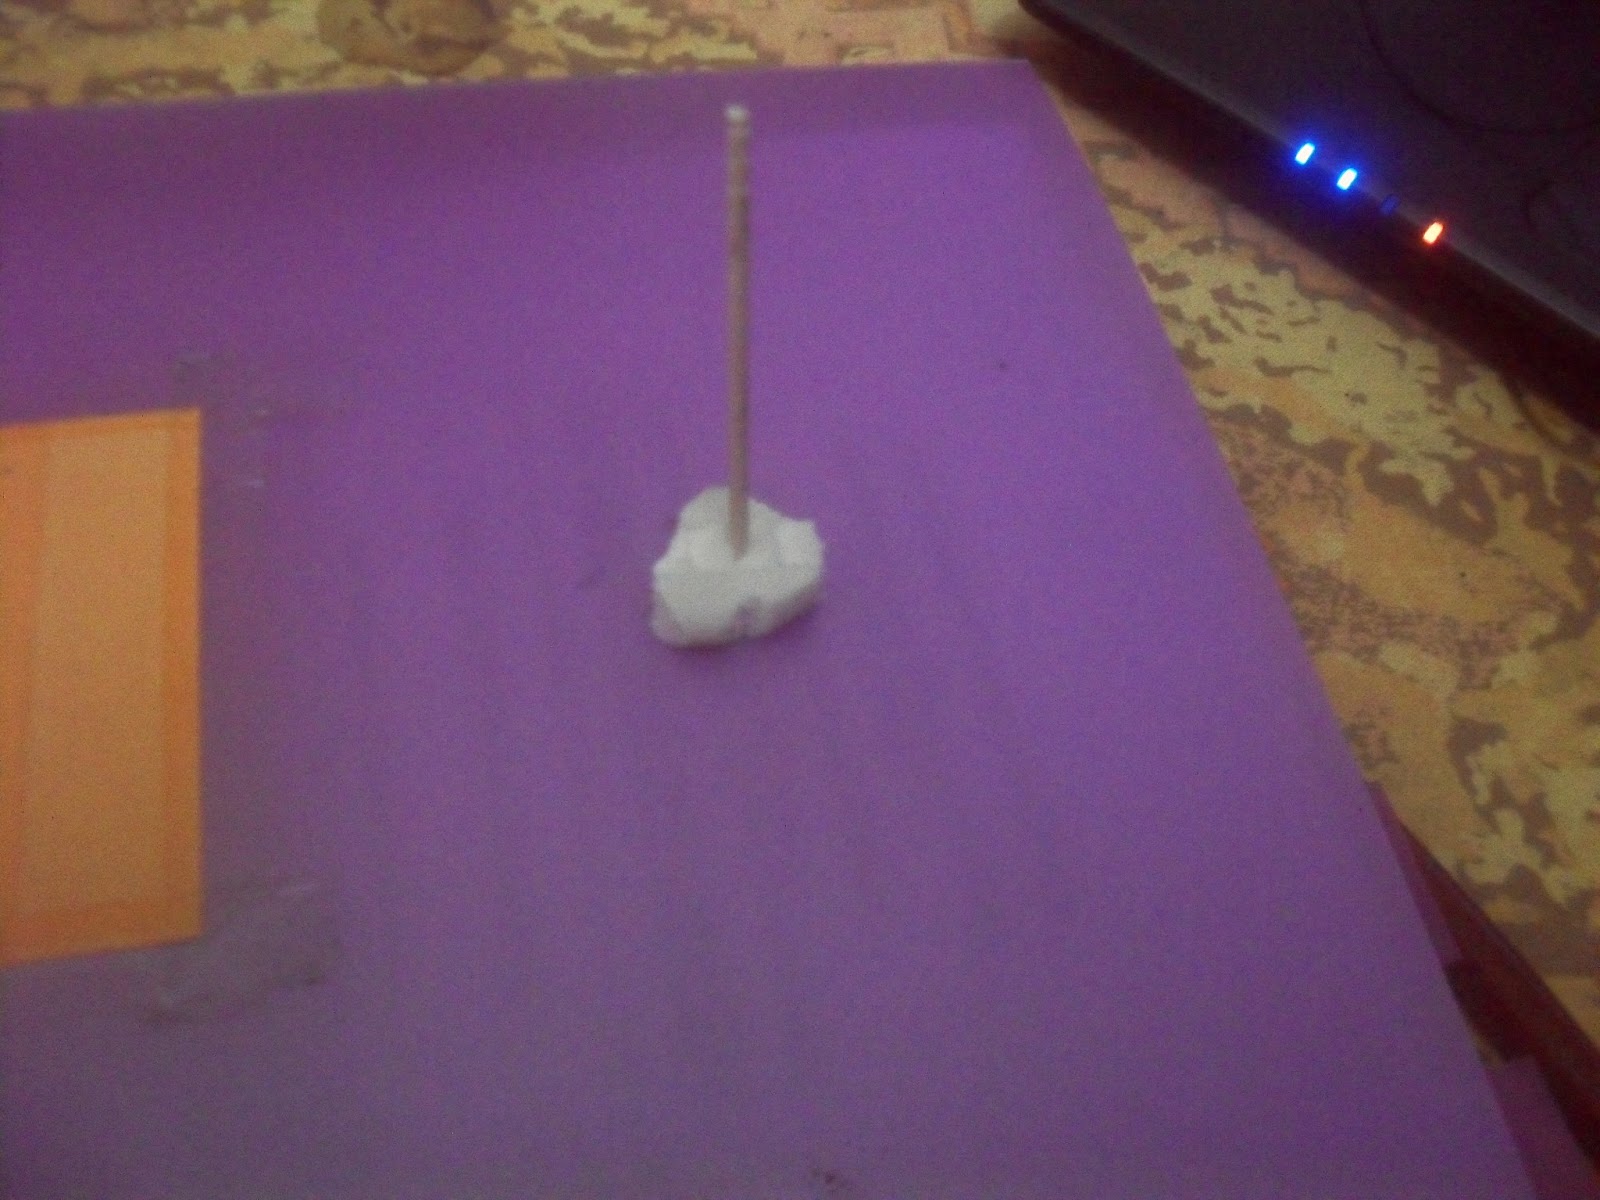
4) Okay so now that you're done, take the toothpick and punch it behind the heart, right in the middle. Don't make it come out so much otherwise you will have a hard time putting it inside to make the stamp, and also! if you keep moving the toothpick so much, the hole will get fat and then it'll become loose and will keep moving and it'd be soo annoying. So punch it once at least till you know its hard and won't move or break.
This is how it'll look..


5) NOW TO START STAMPING !!! :D
First, get an A4 sheet paper and write down a text or draw a simple image..I wrote " Love" on mine and i wrote it combined because i couldn't be bothered to write them seperatly. Remember if you write seperatly, you will have to cut seperatly, your choice! :)

6) Now cut it. You have to cut the middle, because what i'm planning to do is to stamp INSIDE of this word. So you have to cut inside with a siccor.
To cut this, simply start with a slight cut from the middle so you in no way will touch the edges of the paper to cut. Like this,

Now cut from there on, to the shape of the text or picture...

Cut until you get like this...I didn't cut seperatly..but you'd know how to cut i hope ;) Comment below if you have any questions!! :)

7) Now cut the part around with a little like 2 or 3 inch gap depending on how messy you are with paint! :D

8) Now you're going to paint inside this!!!! xD To start, take the stamp you made before in the tutorial, and cover the top part with paint. I used 3 colors for my painting.
This is how to color your stamp...


When one color is painted on the eraser stamp, its pretty hard to put another color on top... So just dip it in the water a bit and dry it with a cloth.then apply your next paint color... you don't have to even wait till it dries!! Trust me ;)
You will get your color a little bit blur only..but the color will be gone after you apply the next color. It would be only gone like this when washed and dried, the color won't totally go away from the eraser...

Oh and REMEMBER when your stamping the next? Apply more paint on the stamper because the paint usualy dries off before stamping a next and would only like leave half of the design stamped. Something cool i figured out is, Dry Stamping..
You can try Dry Stamping when the stamp is kind of dry right after you stamp once. Then don't waste seconds, dry stamp other places randomly. I did this lastly so it got a more cuter effect. Look back to the first image i showed in the tutorial near the topic.. You can see the light stamps, those are the Dry Stamps ;)
9) Now stamp!!! Your image or text cut, ( in my case the "love" word) must be ON the card or another paper you want to stamp on as the image in the 7th step. Now stamp with the colors you want like this,
Now outline the word with black or a dark color to make it more obvious looking when you take the paper off. I did with black...

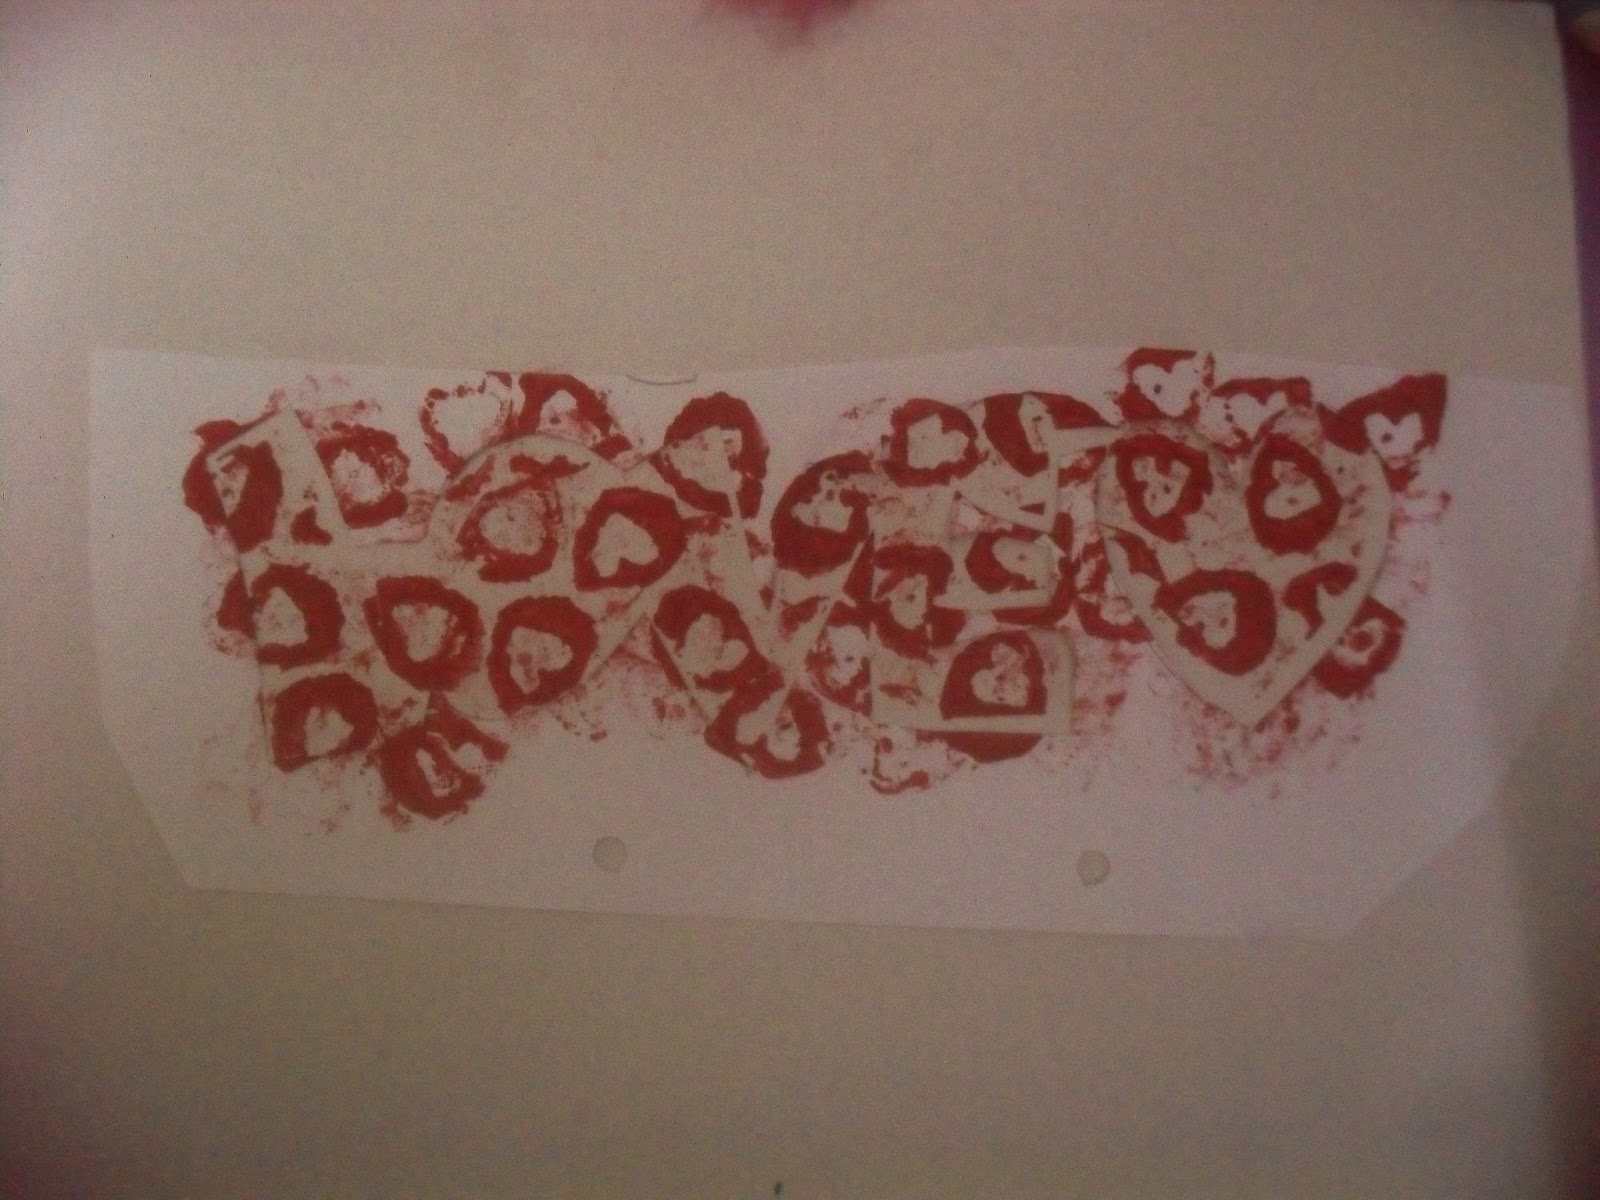
10) Now remove the paper! And you'd see this,

On top of the paper you just now took off, it will look like this!!! :D

11)Stamp a lot more to make it nice, do anything you want!! :) Here's mine! :)
PS - I also Dry Stamped from the stamp because most of the time the paint usually dried before stamping the next one.. So i dry stamped to get a new effect.. ;)


This is the other one.. ;)

Cool right?! Enjoy Mate!! :)
Tell me how yours went! Be creative, do some cool modifications for this, and show me a picture in the comments or E-mail !!! ;)
With Love,
xx
Kavi Sam.
No comments:
Post a Comment