Thursday, February 14, 2013

Black & White Polka Dot Nail Art!

Who wants to try a creative Nail Art? Easy as ever, i'm sure you all have heard of this and probably seen this type of nail art.. But hey! most of them have said that its pretty hard because it gets so messedup and don't know how to do the dots properly and neatly and make it look like an actual printed design.

So i'm going to teach this easy tutorial, i know its been pretty much a long time i'm doing a nail art tutorial! So here goes my effort to what i truly tried on my own! I thought i should share with the world :)

What you need,
1) Plain White & Black Nail polish. ( Depends on the colors you apply.)
2) Paint Brush (Size of 0 or 1 )
3) Nail polish Remover + A cloth to send the excess nail polish away!
4) HANDS or TOES :P


Let me give you an introduction first.
- I used a pattern when i painted the Polka Dots.
As you see, i started with one side of the hand and applied a white background and black polka dots in it.
-Then i used a black background on the next finger and white polka dots in this.
-Then again these two above steps repeat until all the fingers are applied.


Now that's my pattern. If in case you want to try something new, like a different pattern...
- You can go for big nice polka dots like mine
- You can put small tiny dots
- You can divide the nail into two halves and apply the two colors and do the opposite of it in the other.
- You can draw a heart? (I've done a nail art tutorial in that one though, you can check that out! )

Alrighty! I have given you some suggestions for patterns, feel free to roam the internet and search..there are so many cute ideas!
So Let's Begin!


How to do :
1) Apply a background. In my case, it was black since i've applied for all my other fingers. Don't smudge it, don't overcoat.

If you do, then when you are doing something random like eating or washing hands or bathing..? the layers will get messed up because you applied a terrible lot of layers overcoating it. Then you'd cover it up again with the colors in the right places, then it'd get even more messy.


2) We are doing Polka Dots, and not all the circles are perfect, and some let's assume you're cutting a nice piece of cloth which has polka dots as the material's design. You probably cut halfway through a circle right? 

So to make your nail look natural, we are going to do the same thing. Apply to the corner of your nail a litte white, and make a nice curve on top. Do this with the Paint Brush i told you to get. Stick it in the white nail polish bottle but don't take much. If you do take alot, make sure you rub it on top of the bottle or somewhere so most of it goes off from the brush.

This one is more like a slight sketch of the half circle.


2) Cover that part up with a little more white. It will look bit dull, but proceed to the next step.


3) Dip the Paint Brush into the white nail polish bottle and get somewhat a lot of nail polish.. and slightly pat into the half circle with the tip of the brush. Slowly do it, it might get messed up.

If by chance, you got a lot of paint on you hands or the half circle is leaking of it, wipe the excess paint off with the cloth. The left nail polish marks will go when you wash your hands properly later on.


4) Paint the full circles! The same way i told you to do the half circles is how you do the full ones.
- Simply take your brush, use a little bit of paint and draw a light sketch.
- Then paint over it a little bit (looks dull yet)
- Finally pat some nail polish of that color with the tip of the brush onto the circle.

You'll end up with this!


Enjoy! Here are some images of what my results of it were... :)


Do yours and enjoy!
With Love,
xx

Kavi Sam.

Tuesday, February 12, 2013

Ipod Phone Case!

So i came through this creative idea of an Ipod phone case when i wanted to sew myself one! Its a cover and you cannot use the phone when it inside...though if you slide the phone the right way in, into the phone cover, where you got the earphone socket? you can just plug the earphone and listen to music on your phone!

Let's see what we need to have for it shall we?
1) Phone-,- 

2) Siccor, permanent marker Glue ( If you hate to sew & make sure you buy something that pastes very well! ) or if you're sewing get the needle and some thread matching colors to the material you want to sew your cover with.

3) Stretchy Material for the cover. ( Can use any material..I used a silky and shiny one though i'm not sure the exact name of it.. o.0 but it makes the cover look elegant, and cute aswl.. and i got a very dark green color almost like black. Oh and get any size of the cloth 'coz we only need enough to make the cover depending on the phone size of yours. So get a little but not a lot.) 

4) A white material for the Ipod interface.
5) Any other accessories or cute stuff like stones you would like to decorate the cover with. :) I used a lace and i'll tell you why-,- :D


LET'S START !! :D

1) First, take the material you want and cut it to average double and more of your phone size. Meaning, say your phone is an exact square shape? then mark two sizes of the same square shape with your head from the material.. and then get your siccors and cut like with a inch more space. ( The inch is to sew)

Hope the images are clear! I'm sorry something happened to my camera! The flash doesn't show the material's actual texture, so i mad sure i did my best to show it to you!! :)

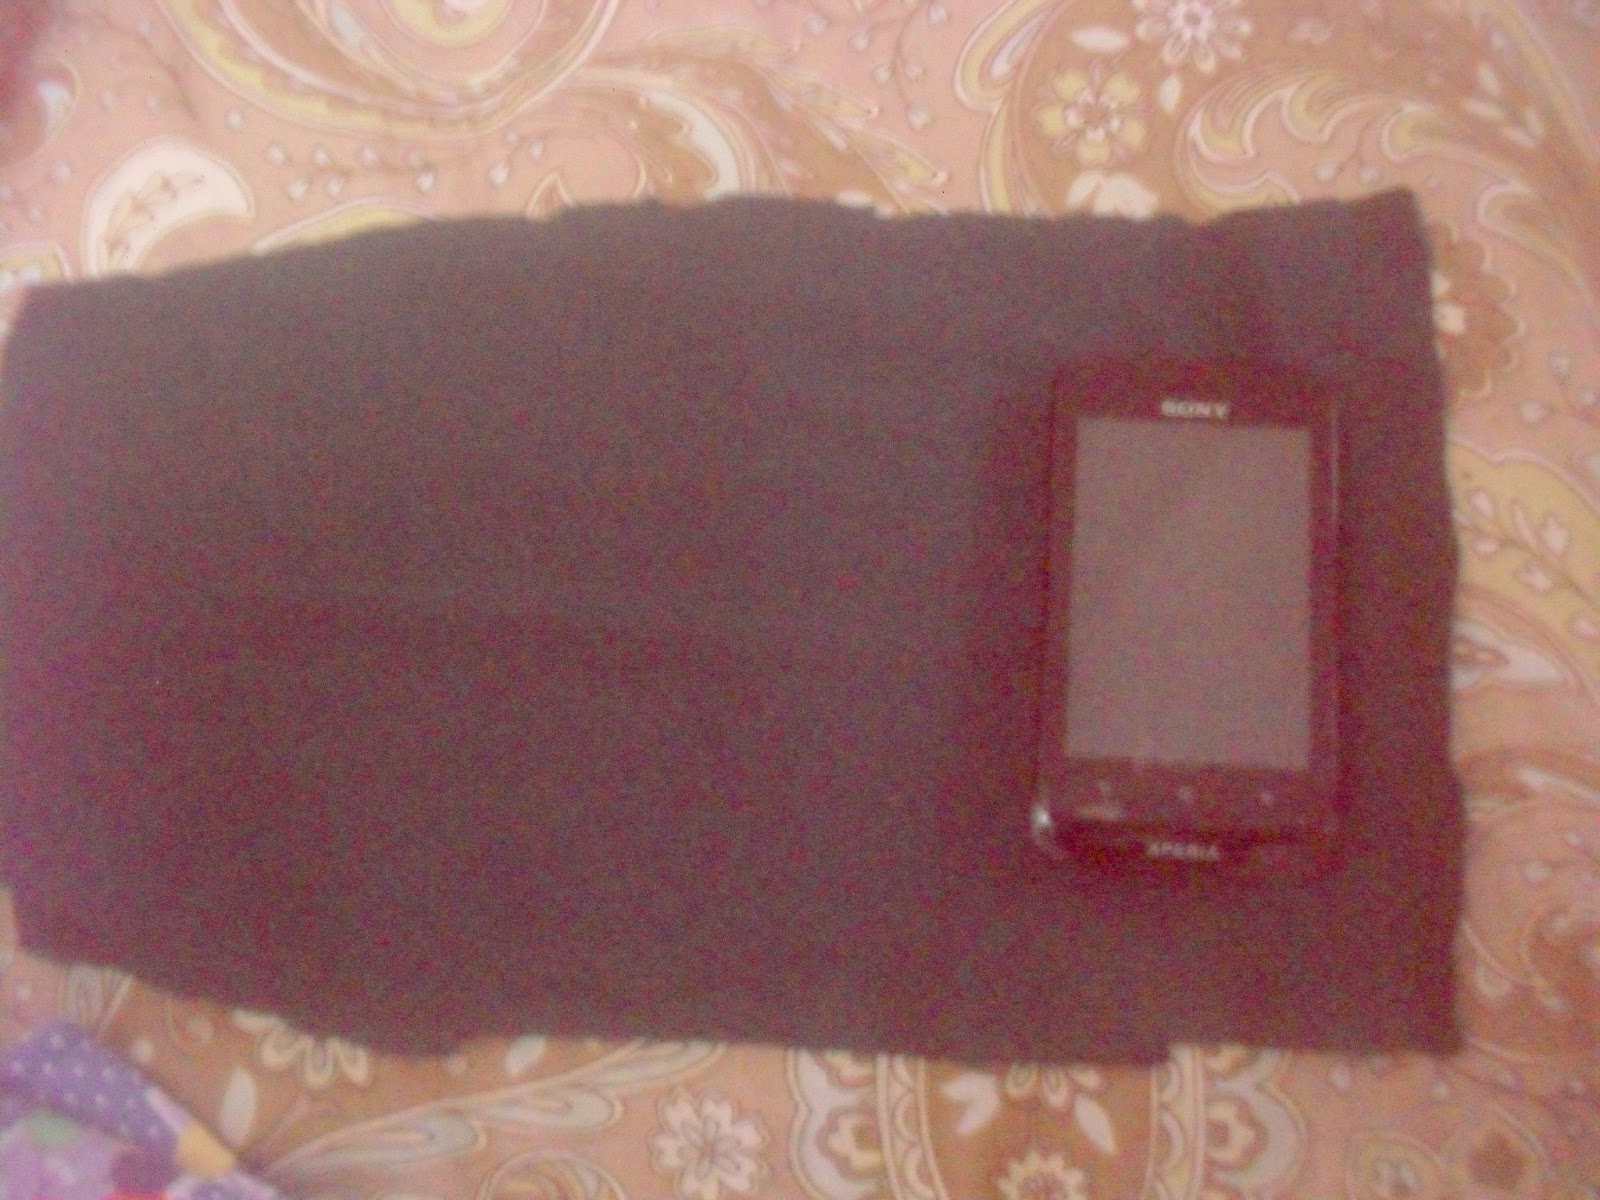
So my material size was this, Its silky and shiny, and i'll ask my mum and tell you what the material is, 'coz i cut it our from a skirt :P

To show you how much i needed for my cover, i will show the phone i have. Its a Sony Xperia Tipo..and the people who've got the Tipo dual, this the same size..and for others don't worry! i'm teaching basically so there's no exact size and measurement i'm mentioning! :)


Here's how much i needed for my cover. I actually didn't have much of this material since i cut it out from a skirt and apparently i'v cut the same skirt when i was small for something else!! :P Remember i did not provide any size. The only size when your picking the material size you want to check is whether your phone can wrap around itself without any stress in the material.


 So remember we are still in the first step to cut the material. Now since i've explained the purpose and what you need to do for the material size..etc.. I will start on how to cut this.
For this, i have come up with something very easy and its even only less sewing so don't worry :)

NOW, place your phone on the corner of your material's opposite side (that is the wrong side)


Now role the phone just once like the below picture without puling, keep the material loose, do not stretch! If you stretch when you are sewing, your case will look smaller and it will mess things up. As you see from the top and the bottom side of the phone, that is the two other side we didn't concern on the material... have loads of space. We will look at that later ;)


Next, Keep your finger for atleast one inch of it to the corner of the material. That would be the side where the opening isn't there, the closed side. Relate the image with the before image. Push the phone a little further down so its got spare for your finger's one inch to be landed properly.


 Then cut it. As you see after i cut, i moved the phone back to where it was in the material before moving it forward for the one inch space. My one inch space looked like this, means it actually had worked of getting extra space. Now this space is for the sewing. But wait! we arn't sewing yet! ;)


2) I told you in the first step how to cut the material you want, then you end up with this,


Now simply bend the material you got, and cut it half properly. You will get this,


3) Now we have to sew the top part of the cloth pieces. Remember is till didn't figure out the length for the cover alright so don't cut it. Now bend one inch perhaps inside and sew it with your needle and matching thread or the sewing machine. I did mine with a running stitch with a brown thread-,- the second image shows the sewing.

Make sure you bend to the wrong side of the cloth piece, 'coz then it won't look ugly from the other side.


I told you i did mine with the brown thread, 'coz i didn't have black or a dark green and that's where i made the mistake. The color of it showed-,- See? So that's where the lace came in, in the last step! :P
I wasn't dumb, I knew the color would show, but i thought i can't be bothered to go buy-,-


4) Well next sewing step and the last sewing step ;D
Listen carefully, or when your turning the cloth, it'll be wrong.

Keep one of the pieces you sew on the right side facing you on a flat surface.
Then keep the other piece facing the right side on the first piece you kept, so the wrong side of this piece stays facing you.

Hope you got it, I'll show it to you in an image.
This is the first step.


This is the second step. If you look at it clearly, you'd see that i've kept the top one in the below image on top of the above image i presented to you.


Now sew them together from one side first with a running stitch. If you're sewing from the needle and thread, please sew properly 'coz this part could fall off. 
And then Sew the other side the same by marking the phone length on the material. Do it right. If you do it wrong, its hard to turn back and remove the thread specially if you're sewing from the sewing machine. But there are ways to remove easily ;) Comment if you have a problem!

Sadly i don't have images of this part description i gave your'll. I was pretty pissed with mine, because first of all it got messed up -,- Then well i figured out a way to do it! :D but by then i was decorating it..sorry! but if you have any problems! feel free to ask by commenting or E-mail! ;)


5)Turn the cover you sew around to see whether you got it right. If you did, turn it back and now put the phone inside what you sew and go all the way to the top and length the height you want to keep it for.

Sew that part from he bottom to cover the bottom part. The cover will look tiny and small, but don't worry once you keep sliding the phone in, it will look absoloutly fine :) 

Once you've sewn the bottom depending on the height you want.. then turn it the other way around. Its not hard to turn it, just simply use both hands and push the bottom part inside from your other fingers till it comes out from the top. Then you've a proper beautiful cover from the right side!


6) Decorate! You're practically done with the cover. If you're satisfied with the results you got and you think you don't need to decorate, then skip this step, you're over, you can use it now! 
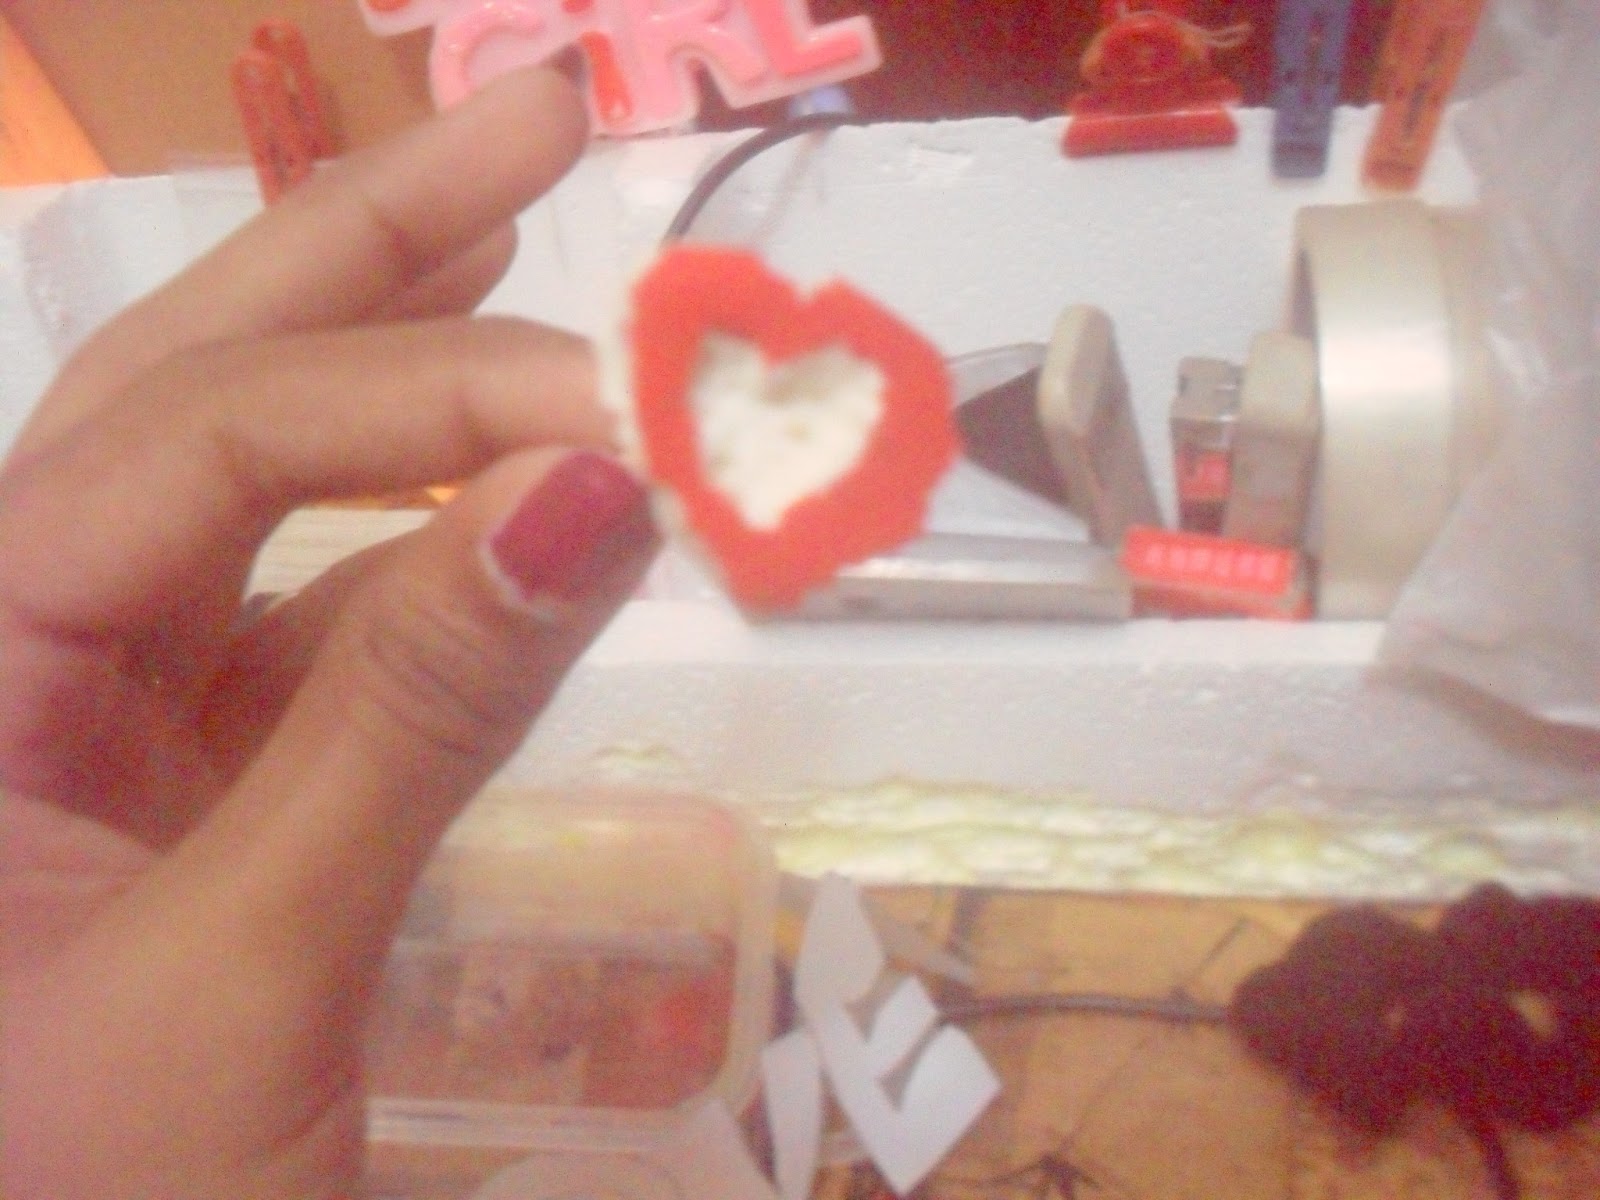
Otherwise, decorate the cover as you please..using stones? laces? other cloth materials to cut and paste a heart, rainbow..etc..Be Creative! :) REMEMBER, title says Ipod Cover-,-

Skip to the 7th step if you want to know how to decorate this as an Ipod cover.

I ofcorse told i sew the top part wrong halfway and also mine was bit messed up by the color i sewed it with-,- So i used a white lace, which looked very chrismasy with the shiny material i used... i sew half of the lace to the inside of the top and the other part to the outside making it look like this,


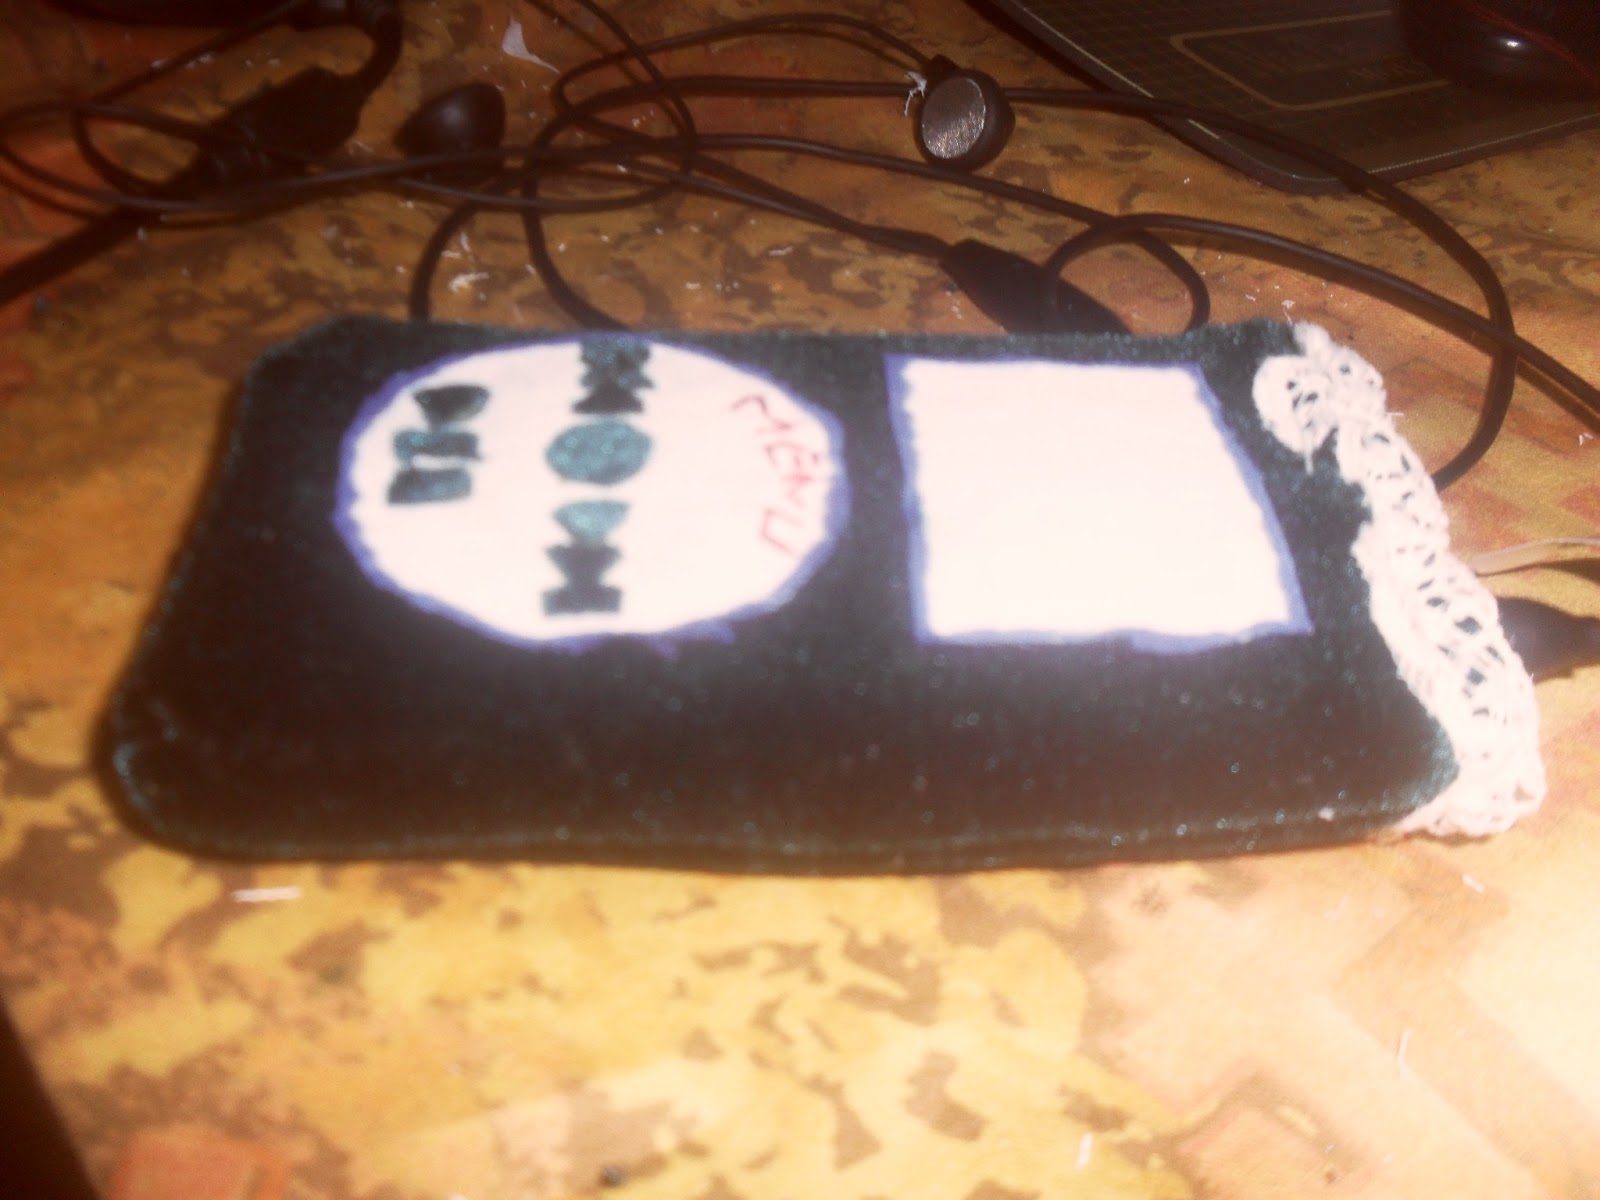
7) I'm showing this to you in a different step, otherwise 'coz it'l be messed up. There's nothing much i did in this to make it look like an Ipod. All i did was, 

- cut a perfect circle and a rectangle from a white material.
- then took a permenant marker and outlined around the circle and rectangle.
- Took the needle and red thread and sew the word " MENU " in capital letters on the top of the circle.
- Cut tiny pieces of controls.. that is ' play&pause ' , ' Previous ' , and ' forward ' controls, and i cut a smal tiny circle for stop button. 
- then i glued it with a good pasting glue onto one side of the cover making it look like this,
you can even sew the name of your songs or paste a heart on the rectangle (which is the screen without making it look blank)


My end results! ENJOY !! :)


Make yours and enjoy!
With Love,
xx

Kavi Sam.

Wednesday, February 6, 2013

Color Stamp!


Awesome tutorial I have ever thought of doing!! I mean i know most of you have figured how to do this? but i got a way crazier method to do this, and it's awesome! ^^

Okay so you got two results from this tutorial..and those are the two images i've shown on the left hand side. In this tutorial, my aim is to create the stamp + produce those results in the images in the left.

To start off, you need these materials :
1) Paint ( Water colors  preferably) & brush ( brush isn't neccasary)
2) Eraser ( Of any thickness)
3) Knife ( small one is enough) or blade or a sharp siccor
4) Paper or a board (To stamp on)
5) A design for the stamp ( I used a heart, you can carve anything on the eraser)
6) A design or word to stamp ON. (meaning in mine i wrote love..so you can do anything, even a picture of a whale..e.t.c..)
7) A pen or pencil to draw the designs.
8) Toothpick (To hold onto when stamping)

\


How to start :

1) Firstly i'm gonna show you how to cut the eraser. To do this get your eraser and draw what you want your stamp to be. Remember depending on your eraser size..you can have a big or small design. I used a heart and it was wayy simple. Plus also remember you're gonna cut from the inside. Meaning my heart's inside was cut. So when you're drawing, draw a simple one, NOT complicated ones.

The heart was easy to draw.. so i just carved it slightly from the knife to get my basic idea of what i'm going to carve in...


2) Next  Carve the design. I used a knife, as said in the materials section you can use a siccor even but i reccomend the knife because it's more sharper and easier.

Pull it lightly and start slowly  don't start fast and get it messed up...because remember we're arn't gonna cut right down to make a hole. We're gonna cut it just around one inch thick or half a inch thick depending on your eraser thickness.
PS- Hope my images for the carving clear :( it swas taken in the dark! :(


This is how it should come as...


3) Now for the rest to make sure the stamp is seperated from the rest of the eraser, and made to a clear and proper stamp.

Cut the heart's shape from around aswel. Meaning, my inside shape was a heart..so to make sure when i stamp..the heart effect should come. So you have to cut the outside part to the same shape aswel. Do the same for whatever your design is too! :)

Here goes what i did,


4) Okay so now that you're done, take the toothpick and punch it behind the heart, right in the middle. Don't make it come out so much otherwise you will have a hard time putting it inside to make the stamp, and also! if you keep moving the toothpick so much, the hole will get fat and then it'll become loose and will keep moving and it'd be soo annoying.  So punch it once at least till you know its hard and won't move or break.

This is how it'll look..


You can either use this stamp alone to stamp somewhere else or to get a nice effect like the two images i put firstly...look at the next few steps ;)

5) NOW TO START STAMPING !!! :D

First, get an A4 sheet paper and write down a text or draw a simple image..I wrote " Love" on mine and i wrote it combined because i couldn't be bothered to write them seperatly. Remember if you write seperatly, you will have to cut seperatly, your choice! :)


6) Now cut it. You have to cut the middle, because what i'm planning to do is to stamp INSIDE of this word. So you have to cut inside with a siccor.

To cut this, simply start with a slight cut from the middle so you in no way will touch the edges of the paper to cut. Like this,

Now cut from there on, to the shape of the text or picture...


Cut until you get like this...I didn't cut seperatly..but you'd know how to cut i hope ;) Comment below if you have any questions!! :)


 7) Now cut the part around with a little like 2 or 3 inch gap depending on how messy you are with paint! :D


8) Now you're going to paint inside this!!!! xD To start, take the stamp you made before in the tutorial, and cover the top part with paint. I used 3 colors for my painting. 
This is how to color your stamp...


When one color is painted on the eraser stamp, its pretty hard to put another color on top... So just dip it in the water a bit and dry it with a cloth.then apply your next paint color... you don't have to even wait till it dries!! Trust me ;)

You will get your color a little bit blur only..but the color will be gone after you apply the next color. It would be only gone like this when washed and dried, the color won't totally go away from the eraser...


Oh and REMEMBER when your stamping the next? Apply more paint on the stamper  because the paint usualy dries off before stamping a next and would only like leave half of the design stamped. Something cool i figured out is, Dry Stamping..

You can try Dry Stamping when the stamp is kind of dry right after you stamp once. Then don't waste seconds, dry stamp other places randomly. I did this lastly so it got a more cuter effect. Look back to the first image i showed in the tutorial near the topic.. You can see the light stamps, those are the Dry Stamps ;)


9) Now stamp!!! Your image or text cut, ( in my case the "love" word) must be ON the card or another paper you want to stamp on as the image in the 7th step. Now stamp with the colors you want like this,


Now outline the word with black or a dark color to make it more obvious looking when you take the paper off. I did with black...


10) Now remove the paper! And you'd see this,


On top of the paper you just now took off, it will look like this!!! :D


11)Stamp a lot more to make it nice, do anything you want!! :) Here's mine! :)
PS - I also Dry Stamped from the stamp because most of the time the paint usually dried before stamping the next one.. So i dry stamped to get a new effect.. ;)


This is the other one.. ;)


Cool right?! Enjoy Mate!! :)
Tell me how yours went! Be creative, do some cool modifications for this, and show me a picture in the comments or E-mail !!! ;)
With Love,
xx

Kavi Sam.